Beijing Lanetech Square Co., Ltd.

SR300 Surface Roughness Tester

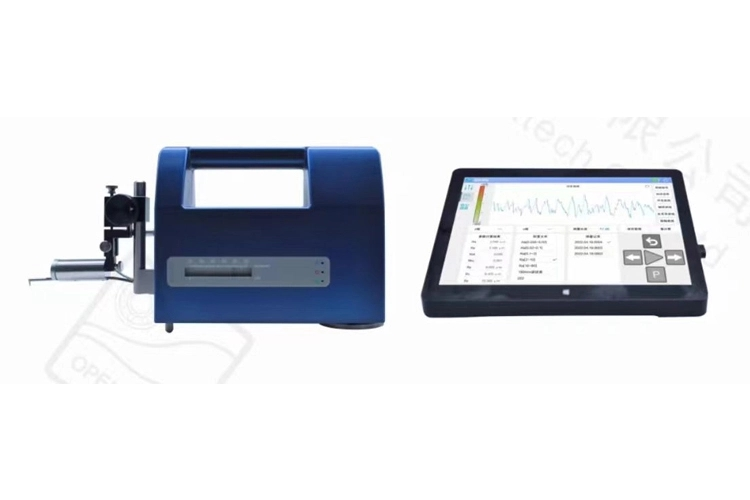
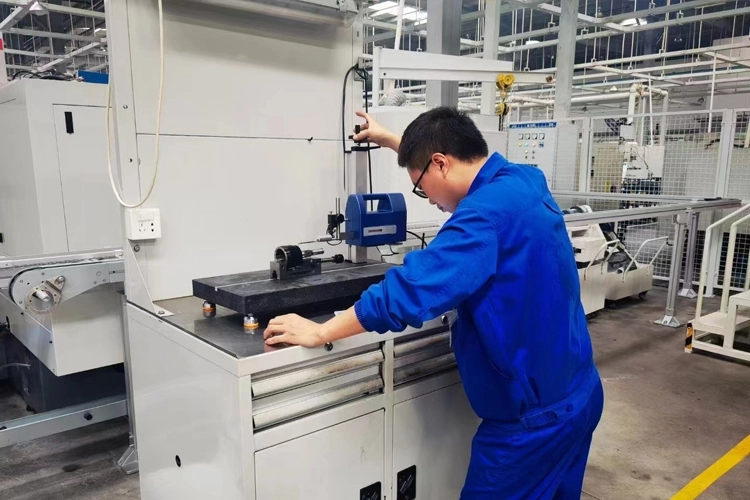
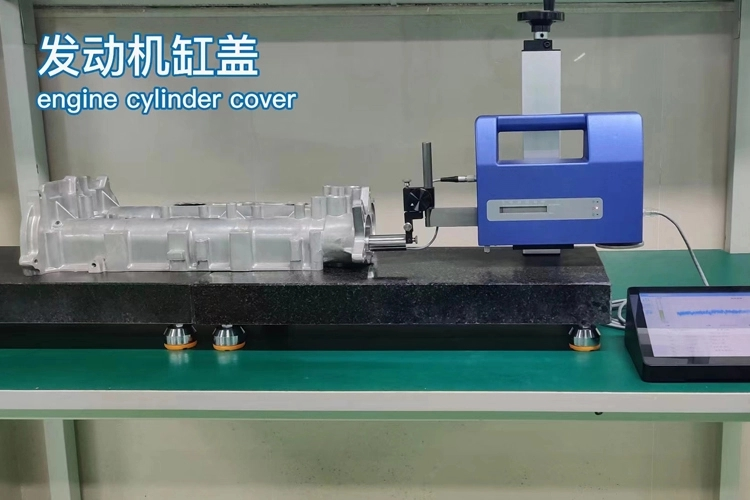
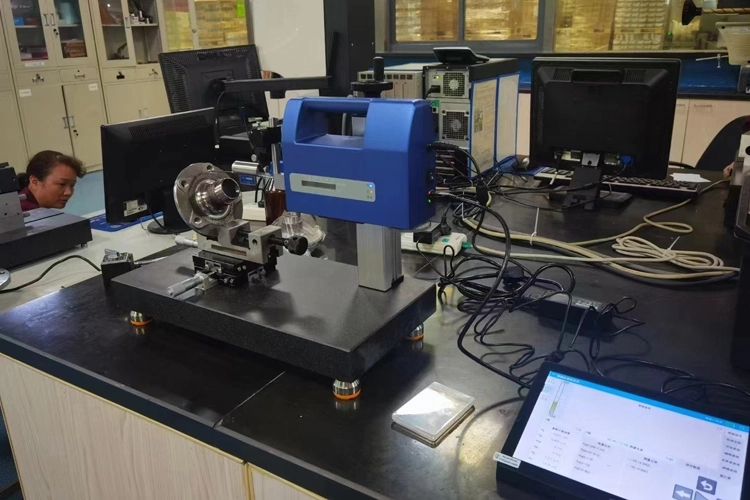
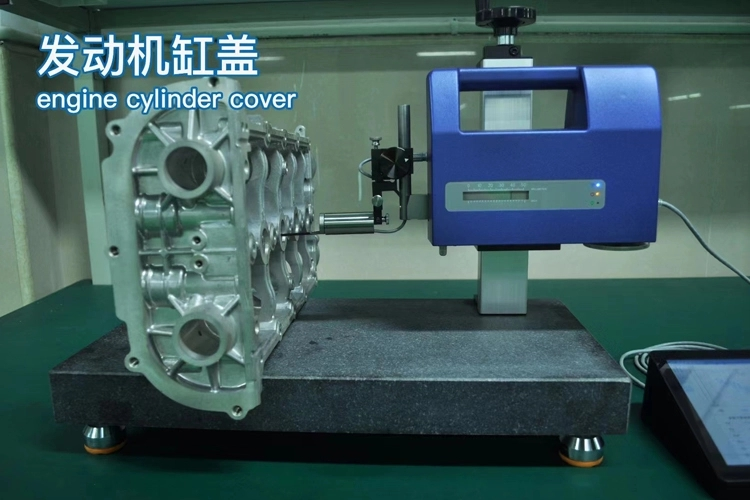
SR300 Roughness Waviness Tester - Lanetech's precision instrument for surface structure analysis of machined components. This versatile tester is ideal for workshop verification, laboratory analysis, metrology room applications, and on-site measurements.

 Measures five surface parameters: Roughness Profile, Waviness Profile, Primary Profile, Abbott Curve, and Motif Analysis;

Supports international standards: GB (China), JIS (Japan), ANSI (USA), DIN (Germany), and ISO;

Intuitive user interface for effortless operation;

Wireless WiFi connectivity for remote control capabilities;

Smart software saves configurations for different measurement scenarios;

One-click measurement for various workpiece types;

The SR300 eliminates complex adjustments through its pre-set configuration system, allowing operators to select settings and perform measurements with single button operation.

For optimal performance, please refer to the complete operating instructions.


  • handheld surface roughness tester
  • contact type surface roughness tester
  • laser surface roughness tester
  • digital surface roughness tester
  • surface roughness measuring instrument price
  • handheld surface roughness tester
  • contact type surface roughness tester
  • laser surface roughness tester
  • digital surface roughness tester
  • surface roughness measuring instrument price

Product Features of SR300 Surface Roughness Tester

  • SR300 Roughness Waviness Tester - Technical Specifications:

  • High-precision guide rail with 50mm large stroke capability;

  • ±1000μm sensor range for extensive measurement applications;

  • Pad-based operation provides portable control and comfortable user experience;

  • Dual communication systems: Wireless WiFi and network connection with automatic switching;

  • Enhanced data transmission optimized for workshop environments with limited wireless access;

  • Comprehensive measurement parameters covering 5 analysis types and multiple international standards;

  • Flexible measurement modes: Accurate measurements with or without guide head, including precision small-value measurements;

  • Interchangeable stylus system enables quick replacement and adaptation to various measurement scenarios;

  • Multi-directional sensor positioning: Vertical or parallel to guide rail for deep groove measurement without depth limitations;

  • Dual unit system: Metric and Imperial units available;

  • Multilingual interface: Chinese and English support;

  • Flexible data storage: Direct saving to USB flash drive or SD card with unlimited CSV-formatted storage;

  • Advanced analysis algorithms with multiple filter methods for customized measurement solutions;

  • Automatic multi-calibration system for standard blocks, significantly reducing calibration errors;


Standard Configurations of SR300 Surface Roughness Tester

Host Actuator

1

Sensor

1

10-inch Pad Operator

1

Host charger

1

Pad charger

1

Standard stylus

1

Roughness standard test block

1

Product certificate

1

Product manual

1

Warranty card

1

Data communication line

1

Host waterproof box

1

Random tools

Allen wrench (1.5mm and 2.5mm)


Technical Data of SR300 Surface Roughness Tester

Model

SR300

Range

X

direction

50mm

Z

direction

±1000μm

Resolution

X

direction

0.0016μm/±50μm -0.016μm/±500μm

Driver

Straightness

1μm/50mm

Analysis Algorithm


Corresponding Standard

JIS-82, JIS-87, JIS-94, JIS-01, JIS-13, ISO-84, ISO-97, DIN-90, ASME-95, GB-14

Parameters

Roughness

profile

Ra75, Rq, Rp, Rv, Rc, Rt, S, R3z, PPI, Ra, Rsk, Rku, Ry, Sm, RΔa, RΔq, Rz, Pc, Rλa, Rλq, lr, RSm, Rz94, RPc, RS, Rz.I, Rpm, HSC

Waviness

profile

WCA, WCC-q, WCC-p, WCC-v, WCC-m, WCC-Sm, WCA, WC-q, WC-p, WC-v, WCM, WC-Sm, WC-t, Wa, Wq, Wsk, Wku, Wp, Wv, Wz, Wc, Wt, WSm, WΔq, WPc

Primary profile

Rsk, Rku, Rmax, Sm, Δa, Δq, Rz, λa, λq, lr, TILT A, AVH, Hmax, Hmin, AREA, Rz.J, Pa, Pq, Psk, Pku, Pp, Pv, Pc.I, Pt, PSm, PΔq, PPc, Pc

Abbott curve

Rk, Rpk, Rvk, Mr1, Mr2, V0, K, A1, A2

Motif

NCRX, AR, R, Rx, NR, CPM, SR, SAR, AW, W, Wx, Wte, NW, SW, SAW, Rke, Rpke, Rvke, Mr1, Mr2, V0, K

Evaluation curve

Roughness profile, Waviness profile, Primary profile, Abbott curve、Motif

Characteristic curve

Abbott curve (Rmr(c), Rmr2(c), Rδc(c), tp(c), tp2(c), Htp(c)), Amplitude frequency analysis curve、amplitude distribution curve

Form remove

global, first half, second half, center, 2 points, curve

Filter type

Gaussian, FFT, PC, DP, 2RC

Filter

wave

length

λs

0, 2.5, 8, 25μm

λc

0.08, 0.25, 0.8, 2.5, 8mm

λf

0.8, 2.5, 8, 25mm

Evaluation length

Sampling length × number of samples (sampling length has standard mode and custom mode)

Measurement speed

0.05mm/s, 0.10mm/s, 0.50mm/s, 1.00mm/s, 2.00mm/s

Return speed

0.05mm/s, 0.10mm/s, 0.50mm/s, 1.00mm/s, 2.00mm/s

Sensor

Mode

Standard universal type

Sensor mode

Differential inductance

Range

±1000μm

Stylus

5μmR diamond 90°

Contact Force

Of the Stylus

Adjustable 4~ 7.5mN

Operator

Display part

10-inch color IPS touch screen

Data output

TF card/U disk/WIFI printing/PDF file

Corresponding language

Chinese/English

Size and quality

Power supply

AC220V±10%

Built-in rechargeable battery (AC adapter charging)

8 hours charging time

Power consumption

About 30VA (800 times can be measured after fully charged)

Quality

Dry weight 4Kg     8Kg package included

Size setting

Actuator   80(W)*392(L)*180(H)                           Operator  245(W)*162(D)*68(H)


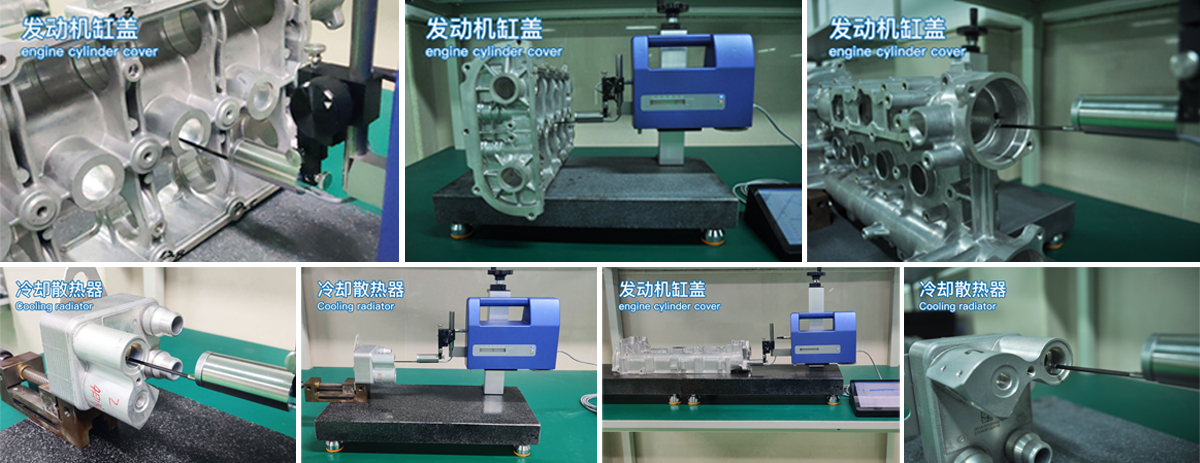
Application Scenarios of SR300 Surface Roughness Tester

Surface Roughness Measurement Device

Product Inquiry
Products